Mastering the Flutter Habit: Your Guide to Effortless DIY Eyelash Extensions

Hey lash lovers! If you're tired of spending ages on mascara or dealing with pricey salon visits, I've got something for you. I've been trying out the flutter habit, and honestly, it's a total game-changer for getting that fluttery look right at home. These DIY lash extensions are pretty simple to use, and they actually last. I was a bit unsure at first, but after a few tries, I'm hooked. It’s a great way to get beautiful lashes without all the usual hassle.
Key Takeaways
- The flutter habit offers a way to get salon-like lashes at home, saving time and money.
- Proper preparation of natural lashes, like cleaning them well, is key for the flutter habit adhesive to stick.
- Placing lash segments carefully under your natural lashes, close to the root, makes the flutter habit look natural.
- Gentle handling and avoiding oily products helps your flutter habit lashes last longer throughout the week.
- Learning to adjust segments and remove them gently protects your natural lashes for future flutter habit applications.
Embracing The Flutter Habit For Effortless Beauty
So, you're thinking about diving into the world of DIY lash extensions? That's awesome! If you've ever looked in the mirror and wished your lashes had that little something extra – that fluttery, full look without spending hours in a salon chair or wrestling with sticky mascara tubes – then the Flutter Habit might just be your new best friend. It’s all about getting that polished, put-together vibe with minimal fuss. This is beauty that fits into your busy life.
Understanding The Flutter Habit Difference
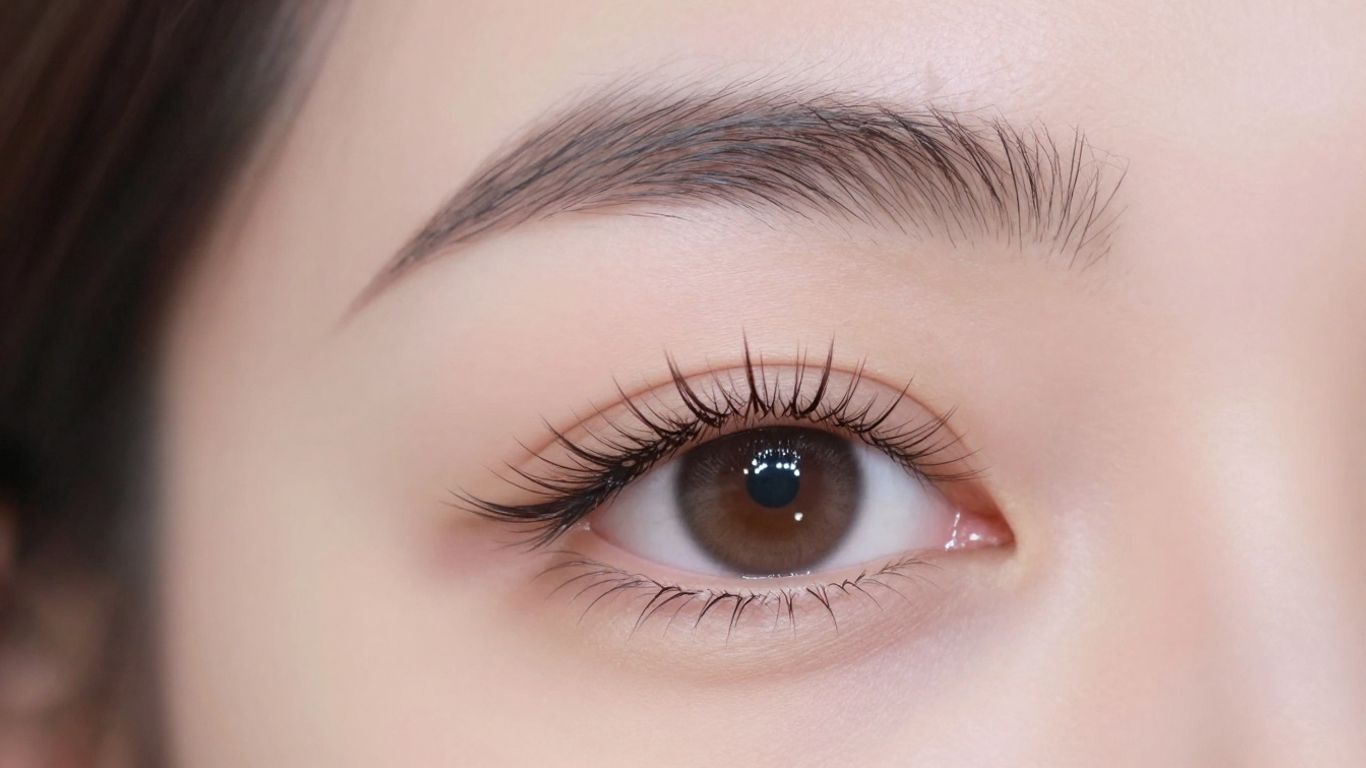
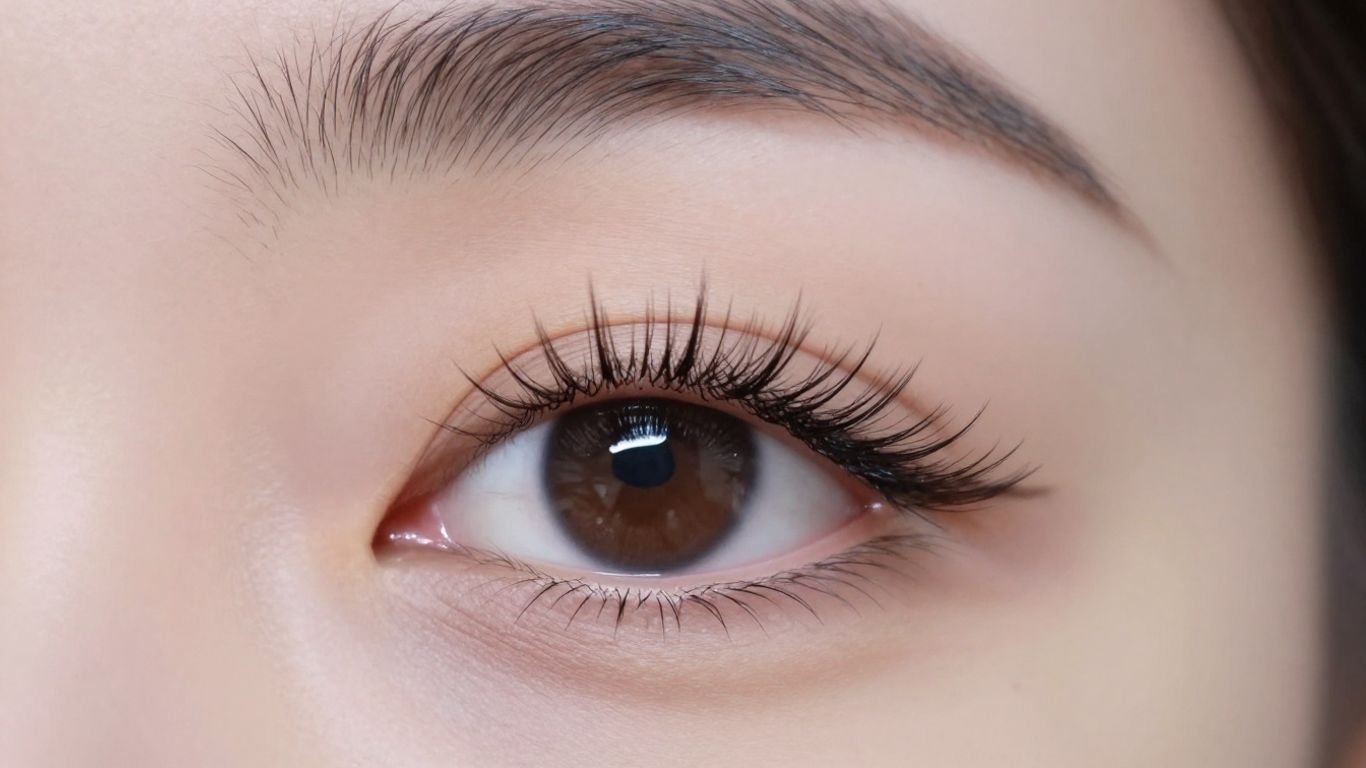
What makes Flutter Habit stand out? It's the idea of bringing salon-quality results right into your home, but with a twist. Instead of those strip lashes that can feel heavy or look obviously fake, Flutter Habit uses individual lash segments. These are designed to be applied underneath your natural lashes, making them look like they're growing right out of your lash line. It’s a subtle but significant change that makes a big difference in how natural they appear. Plus, they're built for wear that lasts a few days, not just a single evening.
Achieving Salon-Quality Lashes At Home
Let's be real, the idea of doing your own lash extensions can sound a bit daunting at first. You might picture yourself with glue everywhere and lashes stuck together. But honestly, it's way more approachable than you think. The key is in the system itself – the specific types of lashes and the adhesive designed to work together. It’s about having the right tools and a little bit of patience. Think of it like learning to do your own gel nails at home; with a bit of practice, you can get results that look just as good as what you'd get at a salon.
The Convenience Of 5-Day DIY Extensions
This is where the real magic happens. Most people find they can get a full set of Flutter Habit lashes on and looking great in under an hour. And the best part? They're designed to stay put for about five days. That means you can wake up, go about your day, and still have gorgeous lashes without needing to reapply mascara or worry about smudges. It’s perfect for:
- Busy work weeks
- Weekend getaways
- Special events where you want to look your best without constant touch-ups
- Just feeling more confident every single day
The goal here isn't just about having pretty lashes; it's about simplifying your beauty routine. It’s about reclaiming a little bit of time and feeling good without a lot of effort. When your lashes look good, you just feel good, right?
It really takes the guesswork out of looking polished. You get that defined eye look that mascara sometimes struggles to achieve, all while keeping your natural lashes safe and sound. It’s a win-win.
Mastering The Flutter Habit Application
Okay, so you've got your FlutterHabit kit, and you're ready to get those gorgeous lashes on. It might seem a little tricky at first, but honestly, once you get the hang of it, it's pretty straightforward. The key is a bit of prep and a steady hand.
Preparing Your Natural Lashes
First things first, you gotta start with a clean slate. Make sure your natural lashes are totally free of any makeup, oils, or old glue. Seriously, give them a good clean and then make sure they're completely dry. This is super important because if there's any moisture or oil, the lash glue just won't stick properly. It’s like trying to put a sticker on a wet surface, you know?
- Cleanse your lashes thoroughly.
- Ensure they are completely dry before proceeding.
- Avoid any oily eye products beforehand.
Precision Placement For A Seamless Look
This is where the magic happens. You want to get the lash segments as close to your natural lash line as possible, but without actually touching your skin. Think of it as tucking them right under your natural lashes. This is what gives you that really natural,
Customizing Your Flutter Habit Look
Alright, let's talk about making your Flutter Habit lashes truly yours. It's not just about slapping them on; it's about tailoring them so they look like they were made just for your eyes. This is where the real fun begins, turning a great product into your signature style.
Selecting The Right Lash Segments
Flutter Habit offers a few different styles, and picking the right one is the first step to getting the look you want. Think about what you're going for. Are you aiming for that 'just woke up like this, but better' vibe, or do you want something a bit more noticeable for a night out?
- Natural Enhancement: For a subtle boost, styles like 'Sloane' or 'Water Lily' are fantastic. They add a bit of length and fullness without being over the top.
- Wispy & Textured: If you like a softer, more fluttery look, 'Dreamer' lashes are a great choice. They have a lovely, airy quality.
- Dramatic & Bold: For those days or nights when you want your eyes to pop, 'The Flirt' or 'Glow Getter' styles offer more volume and length.
Don't be afraid to mix and match segments from different styles too! Maybe you want the length of one style on the outer corners and the fullness of another in the middle. It's your lash canvas!
Trimming For The Perfect Fit
This is a big one, folks. Even the best lashes won't look right if they're too long for your eyes. You want the lash segment to follow the natural curve of your eye without poking you in the corner. A segment that's too long can feel uncomfortable and look unnatural.
Here’s a simple way to check:
- Hold a lash segment up to your eye, just above your natural lash line.
- See where it ends. Does it go way past your natural lashes?
- If it does, take small scissors and trim off just a few fibers from the outer edge. It's better to trim a little at a time than to take off too much.
Repeat this until the segment fits comfortably from your inner corner to just before your outer corner. You might need to trim different amounts for each eye, and that's totally normal.
Achieving Natural Versus Dramatic Styles
So, you've picked your segments and trimmed them. Now, how do you actually apply them to get the look you want? It really comes down to how many segments you use and where you place them.
- For a Natural Look: Use fewer segments, maybe 2-3 per eye. Focus on filling in sparse areas or adding a little length to your outer lashes. Place them closer to your natural lash line for that 'your lashes but enhanced' effect.
- For a Dramatic Look: Go for more segments, perhaps 4-5 per eye, or even more if you're using a fuller style. You can place them a bit closer together and extend them slightly past your natural lash line for added drama. Layering segments can also build up volume.
Remember, the goal is to make them look like your lashes, just better. Placement is key – getting them as close to your natural lash line as possible, underneath your own lashes, makes a huge difference in how believable they look. Don't rush this part; take your time to get it just right.
Ensuring Longevity With Your Flutter Habit
So, you've got your lashes looking amazing, but how do you keep them that way for as long as possible? It's all about a few key steps after you've finished applying them. Think of it like this: you wouldn't just slap paint on a wall and expect it to last forever, right? Lashes need a little extra TLC to stay put and look great.
The Pinch Technique For Strong Bonds
This is a really simple step, but it makes a big difference. Once you've placed a lash segment, take your tweezers and gently pinch your natural lashes together with the applied segment. You're not squeezing hard, just a gentle press. This helps to fuse everything together, creating a much stronger bond between your natural lash and the extension. Doing this for each segment you apply really helps them stick around longer.
Avoiding Oil-Based Products
This one is super important. Anything with oil, especially around your eyes, is the enemy of lash extension glue. Think about makeup removers, certain moisturizers, or even oily eye shadows. These can break down the adhesive over time, causing your lashes to loosen and fall off prematurely. Stick to water-based or micellar water cleansers for your face and eye area to keep your bonds strong.
Gentle Removal For Lash Health
When it's finally time to take them off, usually after a few days, you can't just rip them off. That's a recipe for damaging your natural lashes. The best way is to use a dedicated lash remover or a gentle oil-free cleanser. You can also try soaking a cotton pad with warm water and holding it gently against your eye for a minute or two. This softens the glue. Then, very carefully, try to slide the segments off. If they resist, apply a little more remover or warm water. Patience is key here; you want your natural lashes to be healthy and ready for your next application.
Here's a quick rundown of what to do and what to avoid:
- Do:
- Gently pinch lashes after application.
- Use oil-free makeup removers and cleansers.
- Be patient during removal.
- Cleanse your lashes gently daily.
- Avoid:
- Rubbing your eyes vigorously.
- Using oily skincare products near your lash line.
- Picking or pulling at the lash segments.
- Skipping the removal process and letting them fall off on their own.
Taking a little extra time with these steps will make your FlutterHabit lashes last much longer and keep your natural lashes in good shape. It's really not that complicated once you get the hang of it, and the results are totally worth it.
Troubleshooting Common Flutter Habit Challenges
So, you've applied your FlutterHabit lashes, and maybe things aren't exactly how you pictured. Don't sweat it! We've all been there. It's totally normal to hit a few bumps when you're getting the hang of things. The good news is, most common issues are pretty easy to fix.
Adjusting Segments Post-Application
Sometimes, after you've placed a segment, you realize it's not quite sitting right. Maybe it's a little too close to your inner corner, or it feels like it's lifting slightly at the edge. The key here is to act fast, but gently. The adhesive is designed to give you a little wiggle room right after application.
- Act quickly: You usually have about a minute before the adhesive gets too strong to reposition.
- Use your tweezers: Gently grasp the segment with your application tweezers. Avoid pulling directly on your natural lashes.
- Lift and reposition: Carefully lift the segment away from your lash line and place it back down in the correct spot. Make sure it's close to your natural lash line without touching your waterline.
- Press gently: Once it's in place, use the back of your tweezers or your finger to gently press the segment down for a few seconds to help it bond.
Dealing With Clumpy Or Uneven Lashes
Clumps usually happen when there's a bit too much adhesive, or if you accidentally touched the lashes before the glue was fully dry. Unevenness can occur if segments aren't placed consistently.
- Too much glue: If you see a noticeable blob of glue, try to gently scrape it off with the edge of your tweezers before it dries completely. If it's already dry, you might need to remove the segment and reapply with less adhesive.
- Uneven placement: If a segment looks out of place, try the adjustment technique mentioned above. Sometimes, adding a tiny bit more adhesive to the base of the segment and pressing it into place can help.
- Bridging: If you notice glue strings connecting segments, you can often carefully break these with your tweezers. Don't pull hard, or you might dislodge a segment.
Maintaining A Polished Look Throughout The Week
Even with perfect application, lashes can sometimes lose their initial oomph. Here's how to keep them looking great:
- Gentle brushing: Use a clean spoolie brush (like the ones you get with mascara, but make sure it's clean!) to gently brush your lashes upwards and outwards each morning. This helps separate them and keeps them from tangling.
- Avoid moisture: Try to keep your lash line as dry as possible, especially right after application. Avoid steam from showers or saunas for the first 24 hours if possible.
- Sleep smart: Try to sleep on your back if you can. If you're a side sleeper, try to be mindful of not pressing your face directly into the pillow. This helps prevent crushing or tangling the extensions. You can also find silk pillowcases that are gentler on extensions.
Remember, practice makes perfect. Don't get discouraged if your first few applications aren't flawless. Each time you apply them, you'll get faster and better at placing them just right. It's a skill that improves with repetition, just like any other beauty technique.
Beyond Application: Flutter Habit Aftercare
Keeping your Flutter Habit lashes fresh and comfortable all week takes just a little regular care—but honestly, it's worth it for those effortless mornings. Let me walk you through the bits that actually matter.
Daily Maintenance Tips
- Start each morning with a quick gentle brush through your lash extensions. This keeps them fluffy and separates any that try to clump together while you sleep.
- Don’t touch or tug at your lashes unless you’re cleaning them. The less you fuss, the longer they stay put.
- Keep lashes dry for the first 24 hours after application; after that, a light mist of water won’t hurt, but avoid soaking them.
A little maintenance each day makes your lashes last—and saves you from that uneven, patchy look halfway through the week.
Choosing The Right Cleansers
Using the wrong cleanser will break down the adhesive before you know it. Here’s a quick comparison:
| Cleanser Type | Safe for Lashes? |
|---|---|
| Oil-based remover | ❌ No |
| Micellar water | ✅ Yes (oil-free) |
| Gentle lash shampoo | ✅ Yes |
| Alcohol-based wipes | ❌ No |
- Stick with oil-free, gentle products made for lashes or sensitive skin.
- Never rub harshly—instead, dab or gently sweep along the lash line.
- Avoid cotton pads that might snag or leave fibers behind.
Protecting Your Natural Lashes
Protecting both your extensions and natural lashes is about playing it safe day-to-day.
- Don’t sleep face-down. If you can, use a silk pillowcase to cut back on lash friction.
- Skip heavy, waxy eye creams or balms—they can loosen the glue.
- Remove your extensions carefully when they’ve outlived their magic: soak them with a bit of lash-safe remover and patiently slide each segment away instead of pulling.
Being gentle keeps your natural lashes healthy and strong, so you can keep enjoying those DIY extensions as often as you want—without breakage.
Sticking to these habits makes the Flutter Habit routine easy, stress-free, and kind to your real lashes. Regular care only takes a couple of minutes, and in exchange, you wake up looking ready, every day.
Keep Fluttering!
So there you have it! Applying your own lash extensions at home might seem a little tricky at first, but with a bit of practice, it really does become super easy. You’ll get the hang of finding the right lash segments for your eyes and getting that glue just right. Remember, it’s all about being gentle and patient. Soon enough, you’ll be rocking gorgeous, fluttery lashes that look like you just stepped out of the salon, all without leaving your couch. Happy lashing, and enjoy that extra time in the morning!
Frequently Asked Questions
What exactly are Flutterhabit lashes?
Flutterhabit lashes are like special little lash pieces you can stick on yourself at home to make your eyelashes look fuller and longer. They're designed to be easy to put on and can last for about 5 days, giving you a nice look without going to a salon.
How do I put Flutterhabit lashes on without messing them up?
First, make sure your own lashes are super clean and dry. Then, pick a lash piece and see if it fits your eye – you might need to trim it a bit. Put a tiny bit of the special glue on the top of the lash piece and wait a few seconds for it to get a little sticky. Then, use tweezers to stick it right under your own lashes, as close to your lash line as you can without touching your eye.
How long do these lashes usually stay on?
With good care, Flutterhabit lashes can stick around for about 5 to 7 days. This means you don't have to worry about putting on mascara every morning for almost a week!
What's the best way to make my Flutterhabit lashes last longer?
To keep them looking great, try not to use oily makeup removers near your eyes. Also, when you're cleaning your face, be gentle around your lashes. A soft touch helps them stay put for longer.
How do I take off Flutterhabit lashes without hurting my real lashes?
When it's time to take them off, use a gentle lash cleaner or warm water. Let them soak for a little bit. Then, very carefully slide them off. The key is to be super gentle so you don't pull out your natural lashes.
What if my lashes look a little messy after putting them on?
Don't worry if they aren't perfect right away! You can usually adjust them a little bit in the first minute. If they look clumpy, sometimes gently pressing your own lashes and the extensions together with your fingers can help them blend better.