Mastering Live Streaming: A Comprehensive Guide to Using OneStream Live

So, you want to get into live streaming, huh? It can seem like a lot, especially with all the tech involved. But what if I told you there's a tool that makes it way simpler? We're talking about OneStream Live. It’s this platform that helps you get your streams out to all sorts of places at once, and it’s not as complicated as it sounds. Think of it as your go-to for making your live videos look good and reach more people without pulling your hair out. Let’s break down how to use onestream live to make your streaming life easier.
Key Takeaways
- OneStream Live helps you stream to over 45 platforms at once, making your content reach more people.
- You can use OneStream Studio to add guests, brand your streams with custom looks, and use features like countdown timers.
- Schedule pre-recorded videos or stream directly from cloud storage to make sure your content goes out at the right time.
- OneStream Live works with other tools like Zoom and OBS, so you can use the software you're already comfortable with.
- Paying attention to your network and audio levels, plus using SEO, helps make your streams better and reach more viewers.
Getting Started With OneStream Live
So, you're looking to jump into live streaming and heard about OneStream Live? That's great! It's a pretty straightforward platform once you get the hang of it. Think of it as your central hub for getting your video content out to pretty much anywhere people are watching online. This section is all about getting you comfortable with the basics so you can start streaming without too much head-scratching.
Understanding The OneStream Live Platform
OneStream Live is basically a cloud-based service that lets you create, schedule, and send out live streams to a bunch of different social media sites and websites all at the same time. It's designed to make the whole process less complicated, especially if you want to reach a wider audience than just one platform. You can stream live from your computer or even use pre-recorded videos. It's a tool that helps you manage your broadcasts from one place, saving you the trouble of setting up individual streams for each network. This is a good starting point for anyone who will be managing the platform for their group [3f54].
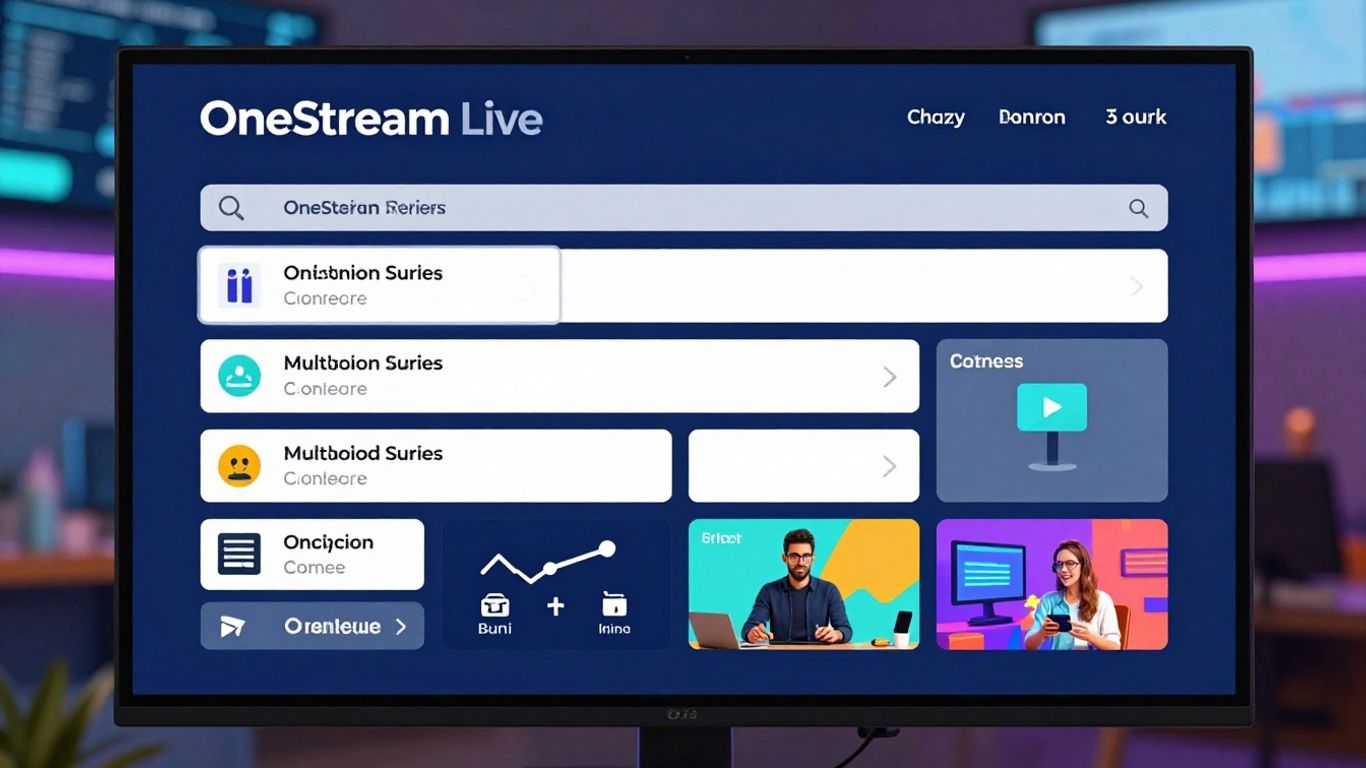
Navigating The OneStream Live Dashboard
When you first log in, you'll see the main dashboard. It might look like a lot at first, but it's organized pretty logically. You'll find sections for creating new streams, managing your scheduled broadcasts, checking your past streams, and looking at your account settings. There's usually a prominent button to start a new stream or upload a video. Take a few minutes to just click around and see where everything is. It's not rocket science, just a different layout to get used to.
Here's a quick rundown of what you'll likely see:
- Dashboard Home: An overview of your recent activity and quick links.
- Create Stream: Where you'll set up new live broadcasts.
- Scheduled Streams: A place to view and manage upcoming broadcasts.
- Past Streams: Access to recordings and analytics of previous events.
- Settings: Your account details, connected social accounts, and other preferences.
Setting Up Your First Stream
Ready to go live? Setting up your first stream is pretty simple. You'll typically choose whether you're streaming live from your camera or using a pre-recorded video. Then, you'll select which platforms you want to stream to – think Facebook, YouTube, LinkedIn, and many others. You can add a title, description, and tags for your stream, which helps people find it. Don't forget to pick a date and time if you're scheduling it. For your very first stream, maybe pick just one or two platforms to keep it simple. You can always add more destinations later. If you're looking to stream to any platform, understanding how to get your RTMP details is key [9c0e].
Setting up a live stream involves choosing your content source, selecting your broadcast destinations, and adding descriptive information. It's a process that requires attention to detail but is designed to be manageable even for beginners.
Leveraging OneStream Studio For Enhanced Streams
OneStream Studio is your go-to place for making live streams look really professional, even if you're just starting out. It’s built right into the OneStream Live platform, so you don't need to download extra software for a lot of things. Think of it as your virtual production room.
Introducing OneStream Studio Features
This studio is packed with tools to make your broadcast stand out. You can manage your camera and audio inputs, pick specific microphones, and even set custom resolutions for your video. It's designed to make live conversations and presentations smooth. You can easily switch between different elements, show or hide graphics, and keep your stream looking polished.
Adding Guests And Interactivity
Bringing guests onto your stream is straightforward with OneStream Studio. You can invite people to join your broadcast, making it a great way to host interviews, Q&A sessions, or collaborative discussions. The platform handles the technical side, so you can focus on the conversation.
Branding Your Live Broadcasts
Making your stream look like yours is important. OneStream Studio lets you add your own branding elements. This includes things like custom backgrounds and overlays that can appear with a subtle animation, helping to keep your stream consistent with your brand identity. You can set these up in the brand settings section.
Utilizing Countdown Timers And Live Chat
To build anticipation before you go live, you can use countdown timers. This gives your audience a heads-up and a visual cue that the stream is about to begin. During the stream, the live chat feature allows for direct interaction with your viewers. You can see their messages and respond in real-time, which really helps to connect with your audience. It's a good idea to keep an eye on the chat throughout your broadcast. You can also schedule your content up to 60 days in advance using the platform's playlist features [eb7a].
OneStream Studio is where you can really control the look and feel of your live broadcast. From adding your logo to managing who's on screen, it gives you the tools to create a polished presentation without needing a whole production crew. It’s all about making your content shine.
Here's a quick look at some of the things you can do:
- Guest Management: Invite and manage multiple guests easily.
- Branding: Apply custom logos, overlays, and backgrounds.
- Interactivity: Use countdown timers and monitor live chat.
- Screen Sharing: Share your screen or specific applications.
- Video Playback: Play local video files directly within the studio.
This integrated approach means you can manage many aspects of your stream directly from your browser, simplifying the production process. You can explore the Modern Browser Experience to see how the interface is designed for ease of use.
Scheduling And Multistreaming With OneStream Live
So, you've put in the work to create some great video content. Now, how do you make sure it gets seen by as many people as possible, at the right time? That's where scheduling and multistreaming come into play with OneStream Live. It's not just about hitting 'go live'; it's about being smart with your content distribution.
Uploading And Scheduling Pre-Recorded Videos
One of the handiest features is the ability to schedule pre-recorded videos. This means you can upload your finished video files and set them to go live at a specific date and time. It takes the pressure off being live in real-time and guarantees your content is available when your audience is most likely to tune in. You can upload directly from your computer, with a 10GB limit, or connect to cloud storage like Google Drive, Dropbox, or OneDrive for unlimited uploads.
Here's a quick rundown on how to get your pre-recorded videos scheduled:
- Navigate to the 'Pre-recorded Stream' section and select 'Upload Options'.
- Choose to upload from 'My Device' or import from your connected cloud storage.
- If you've already uploaded videos, you can select them from 'OneStream Storage'.
- Fill in the details: Title (up to 100 characters), Description (up to 1000 characters), and relevant Tags.
- Select your desired social media platforms under 'Choose Destinations'.
- Pick your preferred 'Date & Time' for the broadcast.
- Hit 'Schedule Stream' and you're all set!
Scheduling your content ahead of time is a fantastic way to maintain a consistent online presence without the daily stress of live production. It allows for thoughtful content planning and ensures your message reaches its intended audience reliably.
Integrating With Cloud Storage For Videos
As mentioned, OneStream Live plays nicely with major cloud storage providers. This is a big deal because it means you're not limited by your local device's storage or upload speed for large video files. You can keep your video library organized in the cloud and pull directly from there when you're ready to schedule a stream. This makes managing your content library much simpler, especially if you're producing a lot of videos.
Broadcasting Across Multiple Platforms Simultaneously
This is where the 'multistreaming' part really shines. Why broadcast to just one platform when you can reach dozens at once? OneStream Live lets you send your live or pre-recorded streams to over 45 social media platforms and websites simultaneously. This expands your audience reach significantly. Think about it: viewers who prefer YouTube might miss your Facebook Live, and vice versa. By going live everywhere at once, you capture a much wider net of potential viewers and increase your chances of engagement. It's an efficient way to get your content in front of more eyes with less effort, making your streaming efforts far more impactful. This is a core part of streamlining your live streaming efforts with the platform.
Integrating Third-Party Tools With OneStream Live
Understanding RTMP Source Streaming
OneStream Live plays nice with a bunch of other software you might already be using. This means you're not locked into just one way of doing things. The key here is RTMP (Real-Time Messaging Protocol) source streaming. Think of RTMP as a special language that lets your streaming software talk directly to OneStream Live. This connection allows you to send your video and audio feed from your chosen program to OneStream, which then distributes it to all your selected platforms.
Connecting With Popular Streaming Software
So, what kind of software are we talking about? Lots of them! You can use popular choices like OBS Studio, Streamlabs, XSplit, and even Ecamm if you're on a Mac. The process usually involves getting a unique RTMP URL and stream key from your OneStream Live account. You then plug these details into the settings of your streaming software. It's like giving your software a specific address and a secret code to send its broadcast to OneStream. This setup is pretty standard across most applications, so once you do it once, you'll get the hang of it quickly. For a detailed walkthrough on setting up OBS, you might find resources on OBS setup helpful.
Seamlessly Streaming From Zoom And Other Apps
Beyond dedicated streaming software, OneStream Live also makes it easy to bring in feeds from video conferencing tools. Ever wanted to stream a Zoom meeting or webinar directly to Facebook and YouTube simultaneously? You can do that. The setup often involves using a virtual camera output from Zoom or another app, which your streaming software then picks up. This opens up a world of possibilities for bringing live discussions, interviews, or even online classes to a wider audience. It's a great way to repurpose content and reach people who might not be attending the live event directly. You can even schedule pre-recorded videos to go live, which is a smart way to ensure consistent content delivery.
Using RTMP allows for a robust connection between your chosen software and OneStream Live. This means you can often achieve higher quality streams and more control over your broadcast before it even hits the social media platforms. It's about building a reliable pipeline for your content.
Here's a quick look at some common integrations:
- OBS Studio / Streamlabs: Use the RTMP output feature to send your scene directly to OneStream.
- Zoom: Utilize the 'Virtual Camera' option in Zoom and select it as your video source in OBS or another compatible software.
- Ecamm Live: Offers direct integration or can be used with virtual camera outputs.
- StreamYard / Melon / Be.Live: These browser-based tools often have built-in RTMP output options or can be configured similarly to desktop software.
Optimizing Your Live Streams For Reach

So, you've got your stream set up, you're ready to go live, but how do you make sure people actually see it? That's where optimization comes in. It's not just about hitting the 'go live' button; it's about making your content discoverable and appealing to a wider audience. Think of it like putting up a great sign for your shop – you want everyone walking by to notice.
The Importance Of Multistreaming
Why stick to just one platform when you can be everywhere at once? Multistreaming is a game-changer. It lets you broadcast your live content to multiple social media sites and other online destinations simultaneously. This means you're not limiting yourself to the audience of a single platform. Someone who prefers watching on YouTube might miss your stream if you're only on Facebook, and vice-versa. By spreading your reach, you tap into different communities and increase the chances of someone discovering your content. It's a smart way to get more eyes on your stream with the same amount of effort. OneStream Live makes this super easy, letting you broadcast to over 40 platforms at once, including places like YouTube and Twitch.
Enhancing Discoverability With SEO Strategies
Search engine optimization, or SEO, isn't just for websites anymore; it's vital for live streams too. You want people to find you when they search for topics related to your content. This involves using the right words in your stream's title, description, and tags. Think about what terms someone would type into a search bar to find a stream like yours. Using keywords that people actually search for can make a big difference in how many people find your stream. It's about making your content visible to the right audience.
Engaging Your Audience Effectively
Getting people to your stream is one thing, but keeping them there is another. Engagement is key. This means interacting with your viewers in real-time. Respond to comments in the chat, ask questions, run polls, and make them feel like they're part of the conversation. Building a community around your stream encourages viewers to return and also helps spread the word. When people feel connected, they're more likely to share your stream with their friends.
Here are a few ways to boost engagement:
- Ask questions: Prompt viewers to share their thoughts or experiences.
- Run polls: Get instant feedback and make viewers feel involved.
- Respond to comments: Acknowledge viewers by name and answer their questions.
- Use calls to action: Encourage likes, shares, and subscriptions.
Think about your stream not just as a broadcast, but as a conversation. The more you involve your audience, the more invested they'll become. This two-way street builds loyalty and helps your stream grow organically. It's about creating an experience, not just pushing out content.
To truly maximize your stream's impact, consider a multi-modal approach to SEO. This means optimizing not just your video, but also any accompanying text, images, or audio. For instance, creating blog posts related to your stream topics or sharing engaging images on social media can draw in different types of viewers. This strategy helps improve your overall search visibility across various platforms and caters to different audience preferences, making your content more accessible and appealing to a wider group of people. It's about presenting your content in a way that works for everyone, whether they prefer reading, watching, or listening. This can significantly boost your cross-platform visibility.
Advanced Features And Best Practices
Alright, so you've got the basics down with OneStream Live, and your streams are looking pretty good. But what's next? Let's talk about some of the more advanced stuff that can really make your broadcasts shine and keep people coming back for more. It’s not just about hitting 'go live'; it’s about being smart with your setup and how you use the platform.
Utilizing The Live Sales Feature
This is a game-changer if you're selling anything. The live sales feature lets you directly showcase products during your stream. Think of it like a virtual shopping channel. You can add product links, descriptions, and even prices right there on screen. This makes it super easy for viewers to see what you're offering and buy it without leaving the stream. It cuts out a lot of steps and makes impulse buys more likely. You can even set up special offers that are only available during the live broadcast, creating a sense of urgency.
Recording Your Live Sessions
Don't let a great stream just disappear into the ether once it's over. OneStream Live lets you record everything. This is super handy for a few reasons. First, you can repurpose the content later. Maybe you want to edit it down into shorter clips for social media, or perhaps create a blog post from the transcript. It’s also a great way to have a backup in case something goes wrong or if you want to review your own performance. You can even use these recordings to create on-demand content for your audience who might have missed the live event. Learning how to edit these recordings effectively can really help you get better results with your video content.
Monitoring Network And Audio Levels
This is one of those things that sounds boring but is actually super important. If your internet connection is shaky, your stream will look choppy, and nobody likes watching that. OneStream Live gives you some tools to keep an eye on your connection. Similarly, bad audio is a stream killer. Make sure your microphone is working, you're not picking up too much background noise, and the volume is just right – not too loud, not too quiet. It’s worth doing a quick test before you go live every time. A stable connection and clear audio are key to a professional-looking broadcast.
Keeping an eye on your technical setup is just as important as the content itself. A smooth stream with good audio and video quality makes a huge difference in how viewers perceive your brand and your message. Don't skip the checks!
Here’s a quick checklist for pre-stream checks:
- Internet Speed Test: Run a quick test to ensure you have enough upload speed. Aim for at least 5-10 Mbps for HD streaming.
- Audio Check: Record a short test clip and listen back. Is the volume good? Is there background noise?
- Visual Check: Make sure your camera angle is good and your lighting is adequate.
- Platform Check: Briefly check your stream preview on the destination platform to ensure everything looks as expected.
By paying attention to these details, you can avoid common pitfalls and ensure your broadcasts are as professional as possible. It’s also a good idea to think about how you can transform live video into content for other uses after the stream is done.
Wrapping It Up
So, we've gone through a lot about using OneStream Live. It's pretty straightforward once you get the hang of it, whether you're scheduling old videos or going live with new content. Remember, the goal is just to get your message out there to as many people as possible, and OneStream helps with that by letting you stream to all sorts of places at once. Don't be afraid to try out the different features, like adding guests or branding your stream. It might seem like a lot at first, but practicing makes it easier. Keep experimenting, and you'll find what works best for you and your audience. Happy streaming!
Frequently Asked Questions
What exactly is OneStream Live?
OneStream Live is a cool online tool that helps you create and send out live video streams to lots of different social media sites all at once. Think of it like a super-powered way to share your videos live with everyone, everywhere!
Can I use pre-recorded videos with OneStream Live?
Yep, absolutely! You can upload videos you've already made and schedule them to go live later. This is great for making sure your content is seen at the best times, even if you can't be there live.
What is OneStream Studio?
OneStream Studio is like a special room within OneStream Live where you can make your streams look really professional. You can add guests, put your own logos on screen, use cool backgrounds, and even show live chat messages from your audience.
Can I stream to more than one platform at the same time?
Totally! That's one of the best parts of OneStream Live. It lets you send your stream out to over 45 different platforms, like Facebook, YouTube, Twitch, and more, all at the same time. This means way more people can see your content.
Does OneStream Live work with other streaming apps?
Yes, it does! OneStream Live plays nicely with other popular streaming software like OBS, Zoom, and Streamlabs. This means you can use the tools you're already comfortable with and still send your stream to multiple places.
How can I make sure more people see my live streams?
To get more eyes on your streams, try streaming to multiple platforms at once. Also, use good keywords in your stream titles and descriptions so people can find you when they search, and make sure to interact with your audience to keep them engaged!